The Summer of HEAT and HUMIDITY
Passive House Comfort Performance
Passive House Comfort Performance


CAUTION: THERE IS SOME VERY TECHNICAL DATA HERE.
If you understand things like Psychrometric Charts, Enthalpy, ASHRAE 55 (comfort criteria), and Indoor Air Quality Metrics, you may like this post.
It has been a while since I did a blog post that didn't have to do with an open house, so I am going to be a little rusty - and buckle in, it is a long one!
As everyone knows, this has been a very warm summer, and we have been dealing with some very humid conditions as well. I thought that this would be a good opportunity to see how Rochester Passive House performs to the standards for comfort. You can also be the judge if you'd be comfortable.
The purpose of this post is to show how effective the "minisplit per floor" method of cooling is in a Certified Passive House AND to show how we maintained superb Indoor Air Quality despite Poor Air Quality warnings from the local weather stations. Here is the set up:
1) 9000 BTU Ductless minisplit is located in the Master Bedroom on the south end of the house
2) uHoo IAQ Meter in kids bedroom on North Side of the house.
3) Netatmo Weather Station located on the front porch out of the direct sunlight

I put the uHoo IAQ meter in the kids bedroom for a few reasons
1) I have 2 girls - age 8 and 6 who share a room (2 occupants = higher potential CO2)
2) This room on the north east side of the house on the 2nd floor seemed to me be to be the most difficult to cool
3) I care about the IAQ for my kids, so I wanted to see if there was a problem in their room
4) They have a pretty routine bedtime and wake up time every day, so I figured my numbers would be consistent between the days. (8pm bedtime, 7am wake up - YES EVEN IN THE SUMMER)
Now, our method for cooling with the minisplits were:
1) We kept the master bedroom door open every day and all night
2) We closed the kids door every night - they did open it a few times to go to the bathroom etc, and left it open.
3) We did do laundry at our normal rate, about 5 loads per week with a condensing dryer
4) Our Zehnder system was on "normal" except for times of boosting (showers and cooking)
5) The minisplit in the Master Bedroom was kept on "dehumidify" I figure it is trying to maintain 60% RH regardless of temperature. I can't find a good explanation on this anywhere.
6) Our 1st Floor minisplit was either set at 72F or Dehumidify - we change it around for comfort
Just How Hot Was it?
The typical HVAC design criteria for Rochester, New York is set for 1% and 99%. This means the outdoor temperature will only exceed the design temperature 1% of the hours of the year.
Rochester NY Cooling Design Temperatures - from ACCA Manual J are:
1% Cooling - 86 F 50% RH
Because I will be discussing Temperature AND Humidity we will convert things to Enthalpy for comparisons. Simply put, the higher the Enthalpy, the higher the total heat content in the air.
86 F with 50% RH has and Enthalpy of 35.3 BTU/lb
What does this look like on a Psycrometric Chart?

Okay, lets take a look at the outdoor weather from 9am June 28th - 7am July 6th
This is a mapping of temperature and humidity readings every hour for that 8 day period
There are 191 measurements.

Of the 191 hours in this time period the Enthalpy for design was exceeded for 115 hours!
(There are 115 red dots above the red line)
I am not making an argument for or against the design limits set by ACCA, I am simply showing how hot it was over this week.
60% of the time we were exceeding the design temperature limits for our cooling system.
--------------------------------------------------------------------------------------------------------------------------
Lets Define Comfort
ASHRAE-55
"The purpose of this standard is to specify the combinations of indoor thermal environmental factors and personal factors that will produce thermal environmental conditions acceptable to a majority of the occupants within the space"
That is a lot to digest, so lets unpack that a little bit:
1) Thermal Environmental Factors - things like temperature, mean radiant temperature and humidity etc.
2) Personal Factors - things like the amount of clothing you are wearing, your activity levels etc.
3) A majority of the occupants - lets face it, we can't make EVERYONE happy, some people like it warm, others like it cool.
There are a few different models you can use to meet this standard -
1) Graphic Comfort Zone Model - to use this model you must meet the following criteria:


The uHoo meter is measuring and data logging lots of air quality conditions every minute of every day. It also has tapped into the EPA's recommendations on limits for exposure on each. I get a notification when any one of these items exceeds the EPA's limits.
That is a lot to digest, so lets unpack that a little bit:
1) Thermal Environmental Factors - things like temperature, mean radiant temperature and humidity etc.
2) Personal Factors - things like the amount of clothing you are wearing, your activity levels etc.
3) A majority of the occupants - lets face it, we can't make EVERYONE happy, some people like it warm, others like it cool.
There are a few different models you can use to meet this standard -
1) Graphic Comfort Zone Model - to use this model you must meet the following criteria:
- metabolic rate must be between 1.0-1.3 - For intermittent activity, you take the average
- 0.7 - sleeping
- 1.0 - seated and quiet
- 1.2-1.4 - light activity
- 2.0 - walking, lifting heavy loads
- Anything higher has a low level of design accuracy
- Humidity ratio must be below 0.012 lb H2O/lb dry air
- that is 84 grains H2O per lb dry air
2) Analytical Comfort Zone Model - If either or both of your above criteria are too high, you use this method.
- Utilized this comfort tool model with inputs of:
- Operative Temperature (or Air Temperature and Mean Radiant Temperature)
- Air Speed
- Humidity
- Metabolic Rate
- Clothing Insulation
- These inputs are evaluated to predict a thermal sensation on a -3 (cold) to +3 (hot) scale
- You comply if the conditions show thermal "neutrality" between -0.5 and +0.5
Okay! WAKE UP! Moving On....
EN-15215
This is the European Standard for comfort.
For what I am trying to show within a Certified Passive House, EN-15251 and ASHRAE-55 are pretty similar. Since there is no temperature asymmetry and I am utilizing the residential standard for comfort (ie: we are not designing to maintain an exact temperature and humidity, like we would in a museum or hospital) the 2 standards are close enough without writing a book.
I am simply trying to show how well we achieved summer comfort when the outdoor conditions exceeded our design conditions for an extended period of time.
--------------------------------------------------------------------------------------------------------------------------
Comfort Criteria Assumptions:
- I will utilize the Analytical Comfort Zone Model via http://comfort.cbe.berkeley.edu/
- When the Kids are "sleeping" the MET will be 0.7 - 8pm-7am
- When the Kids are awake and during the day the MET will be 1.0
- The room is typically unoccupied during the day, but I have the data so lets look at it
- The Clothing Level (Clo) at night will be 2.0
- Kids in summer PJ's under a blanket on top of a mattress
- The Clothing Level (Clo) during the day will be 1.0
- The house is airtight, there is no ceiling fan and the way the ventilation system is designed there is no noticeable air velocity in the room. The Standard seems to have a 30 Feet Per Minute default, so we'll go with that (30 feet per minute = 0.34 miles per hour)
- The Mean Radiant Temperature is 77 F. This is a guess and tends to be the standard default. but there are no computers, electronics or other internal gains in the room other than the 2 girls. One alarm clock is the only thing plugged in. There is also 1 Passive House Window that faces east, so by 11 am it is completely shaded. The walls, floor and ceiling temperatures were measured with an IR Camera showing about 75.2 F
Kids Room Nighttime Comfort

So what does this mean?
- There were 96 hours where the kids were in their room "sleeping" over this time period
- The Average Predicted Mean Vote or PMV needs to be between 0.5 and -0.5. In this model the Average PMV is -0.06 - Thermal Comfort is achieved.
- The conditions in the bedroom stayed within the comfort zone (indicated by the light purple shading) the entire time.
Kids Room Daytime Comfort

- There were 95 hours during the day
- The Average Predicted Mean Vote or PMV needs to be between 0.5 and -0.5. In this model the Average PMV is +0.07 - Thermal Comfort is achieved.
- The conditions in the bedroom stayed within the comfort zone (indicated by the light purple shading) the entire time.
You will notice a slight shift in the light purple comfort zone, due to different met rates and clothing levels.
--------------------------------------------------------------------------------------------------------------------------
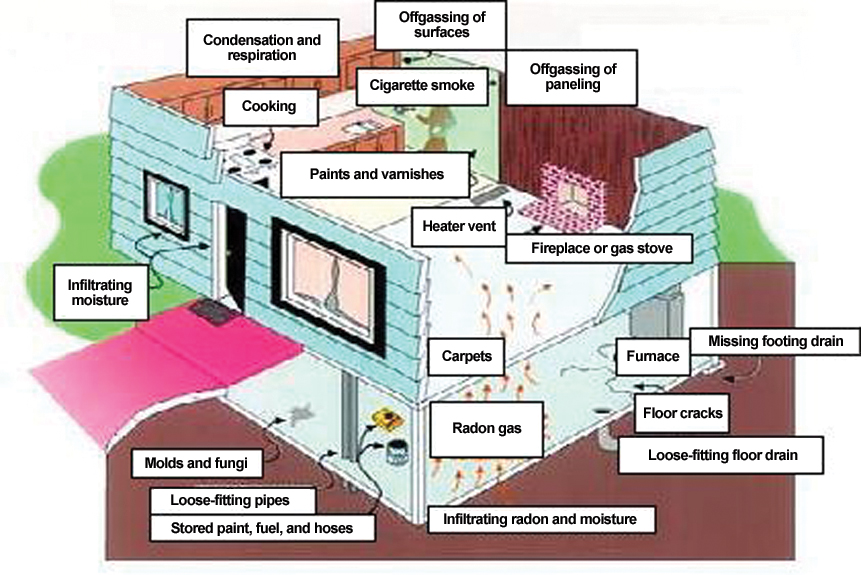
So that is great, Thermal Comfort is achieved even when the temperatures are extreme for a long period of time. All without conditioned air distribution. But what about the indoor air quality?

The uHoo meter is measuring and data logging lots of air quality conditions every minute of every day. It also has tapped into the EPA's recommendations on limits for exposure on each. I get a notification when any one of these items exceeds the EPA's limits.
- Temperature - Notification at 77 F
- Humidity - Notification at 60 % (or below 35%)
- CO2 - Notification from 1000-5000 ppm - Warning over 5000 ppm
- Total VOC - Notification from 400-800 ppb - Warning over 800 ppb
- PM2.5 - Notification from 50-100 ug/m3 - Warning over 100 ug/m3
- NO2 - Notification from 100-250 ppb - Warning over 250 ppb
- CO - Notification from 35-70 ppm - Warning over 70 ppb
- O3 - Notification from 55-70 ppb - Warning over 70 ppb
- Air Pressure - Below 970 mbar or above 1030 mbar indicating a sever weather event
To save time and effort, I will omit the following readings since they didn't change the entire week:
Temperature and Humidity - I don't need to beat a dead horse
Carbon Monoxide = 0 ppm all the time
Air Pressure = 986.5-1003.6 mbar all the time
New York State Measures a variety of Outdoor Air Quality Metrics available to anyone at any time. Here is the Website link:
http://www.nyaqinow.net/
 The Nearest Station to me is roughly 13 miles away.
Lets take a look at PM 2.5 measurements
PM2.5 is "Particulate Matter" that are 2.5 microns or less in width. That is a fancy way of saying "tiny dust". PM 2.5 is small enough that the body cannot filter them out when inhaled and thus enter our lungs and get absorbed into our blood.
According to the EPA you want to maintain between 0 - 50 ug/m3
My kids room vs. Ambient for the same time period:

The Blue Line is Outdoor Measurements from the NYS website.
The Orange Line is Indoor Measurements from the uHoo Device.
Over this time period:
the Outdoor Average PM 2.5 was: 10.8
the Indoor Average PM 2.5 was: 6.1 (and never exceeded 8.1)
Lets take a look at NO2 Measurements
NO2 forms from ground level emissions related to burning fossil fuels from vehicles, power plants,
and off road equipment. According to the EPA scientific evidence links short-term NO2 exposure, ranging from 30 minutes to 24 hours, with adverse respiratory effects including airways inflammation in healthy people and increased respiratory symptoms in people with asthma. You want to stay under 100 ppb
 The Blue Line is Outdoor Measurements from the NYS website.
The Orange Line is Indoor Measurements from the uHoo Device.
Over this time period:
the Outdoor Average NO2 was: 4.3
the Indoor Average NO2 was: 0.5 (and never exceeded 0.6)
Lets take a look at Ozone (O3) Measurements
Ozone is not directly emitted into the air, but is created by chemical reactions between oxides of nitrogen (NOx) and Volatile Organic Compounds (VOC's) in the presence of sunlight. Breathing ozone can trigger a variety of health problems, particularly for children, the elderly and people with lung disease and asthma. You want to maintain levels as low as possible because breathing low levels over a long period of time may have more damaging and longer-lasting effects.
The safe level according to the EPA is under 55 ppb, however inhaling fairly low levels can still result in signs and symptoms such as coughing, congestion, etc.

The Blue Line is Outdoor Measurements from the NYS website.
The Orange Line is Indoor Measurements from the uHoo Device.
Over this time period:
the Outdoor Average O3 was: 38.6 ppb
the Indoor Average O3 was: 4.0 (and never exceeded 4.4)
DISCLAIMER: Ambient Total VOC and CO2 are not currently measured by NYS.
I don't have data to the compare the indoor conditions to. I have moved the uHoo devide outside, and I taking some measurements to see how CO2 and TVOC (and all of the other measurements for that matter) varies. That data will be posted when I see something interesting.
Lets take a look at Total VOC Measurements
New York State Measures a variety of Outdoor Air Quality Metrics available to anyone at any time. Here is the Website link:
http://www.nyaqinow.net/

Lets take a look at PM 2.5 measurements
PM2.5 is "Particulate Matter" that are 2.5 microns or less in width. That is a fancy way of saying "tiny dust". PM 2.5 is small enough that the body cannot filter them out when inhaled and thus enter our lungs and get absorbed into our blood.
According to the EPA you want to maintain between 0 - 50 ug/m3
My kids room vs. Ambient for the same time period:

The Blue Line is Outdoor Measurements from the NYS website.
The Orange Line is Indoor Measurements from the uHoo Device.
Over this time period:
the Outdoor Average PM 2.5 was: 10.8
the Indoor Average PM 2.5 was: 6.1 (and never exceeded 8.1)
Lets take a look at NO2 Measurements
NO2 forms from ground level emissions related to burning fossil fuels from vehicles, power plants,
and off road equipment. According to the EPA scientific evidence links short-term NO2 exposure, ranging from 30 minutes to 24 hours, with adverse respiratory effects including airways inflammation in healthy people and increased respiratory symptoms in people with asthma. You want to stay under 100 ppb

The Orange Line is Indoor Measurements from the uHoo Device.
Over this time period:
the Outdoor Average NO2 was: 4.3
the Indoor Average NO2 was: 0.5 (and never exceeded 0.6)
Lets take a look at Ozone (O3) Measurements
Ozone is not directly emitted into the air, but is created by chemical reactions between oxides of nitrogen (NOx) and Volatile Organic Compounds (VOC's) in the presence of sunlight. Breathing ozone can trigger a variety of health problems, particularly for children, the elderly and people with lung disease and asthma. You want to maintain levels as low as possible because breathing low levels over a long period of time may have more damaging and longer-lasting effects.
The safe level according to the EPA is under 55 ppb, however inhaling fairly low levels can still result in signs and symptoms such as coughing, congestion, etc.

The Blue Line is Outdoor Measurements from the NYS website.
The Orange Line is Indoor Measurements from the uHoo Device.
Over this time period:
the Outdoor Average O3 was: 38.6 ppb
the Indoor Average O3 was: 4.0 (and never exceeded 4.4)
DISCLAIMER: Ambient Total VOC and CO2 are not currently measured by NYS.
I don't have data to the compare the indoor conditions to. I have moved the uHoo devide outside, and I taking some measurements to see how CO2 and TVOC (and all of the other measurements for that matter) varies. That data will be posted when I see something interesting.
Lets take a look at Total VOC Measurements
VOC's are carbon based chemicals that are emitted as gases from solids or liquids. While most people can smell high levels of some VOC's, others have no odor. There are thousands of different VOC's produced in our every day lives (Paint, Cleaning Solutions, Wood Products, Cooking, Air Fresheners,etc. etc.). The EPA recommends adding ventilation when above 400 ppb, and avoiding concentrations over 800 ppb.


The Orange Line is Indoor Measurements from the uHoo Device.
Over this time period:
the Indoor Average TVOC was: 64.5
The 400 ppb limit was exceeded for 2 hours with a max reading of 471.9.
There is no direct correlation between an outdoor measured condition and the indoor condition for TVOC. I have been reading TVOC measurement outdoors as of late and have seen readings as high has 317 ppb, so it is plausible the indoor VOC spike was caused from an outdoor concentration spike.
Lets take a look at CO2 Measurements
CO2 concentrations are generally related to the number of occupants. It is usually highest where people and pets spend most of thier time. Some other sources include, combustion appliances, and from experience - bread baking (and rising). CO2 is generally considered to be 400 ppm in outdoor air. The ideal state is under 1000 ppm in the house. Elevated levels can lead to drowsiness, but no serious health effects until you exceed 5000 ppm. Headaches, increased pulse rate, decrease in cognitive thinking etc. can result.
Our ventilation system is designed to maintain roughly 600-700 ppm CO2 in the house (or 200 ppm above ambient).

The Orange Line is Indoor Measurements from the uHoo Device.
Over this time period:
the Indoor Average CO2 was: 795
The 1000 ppm limit was exceeded on 5 occasions. There are a few reasons for this.
We have an interesting dilemma here. On the worst night for CO2 concentration, our low temperature was 75.8 F with a 86% RH. If we increase our ventilation rate to lower the CO2 concentration we jeopardize the indoor comfort levels due to excess humidity. We do have an ERV, but when it is used in conjunction with the Comfofond typically it runs in bypass. This is because the Comfofond is lowering the temperature of the incoming air below the temperature of the extract air (ie: "Free" Cooling). When it cools the incoming air with the ground loop, the fresh air is near the saturation temperature (meaning it is very humid, but cooler). Usually in the 65-70 F range.
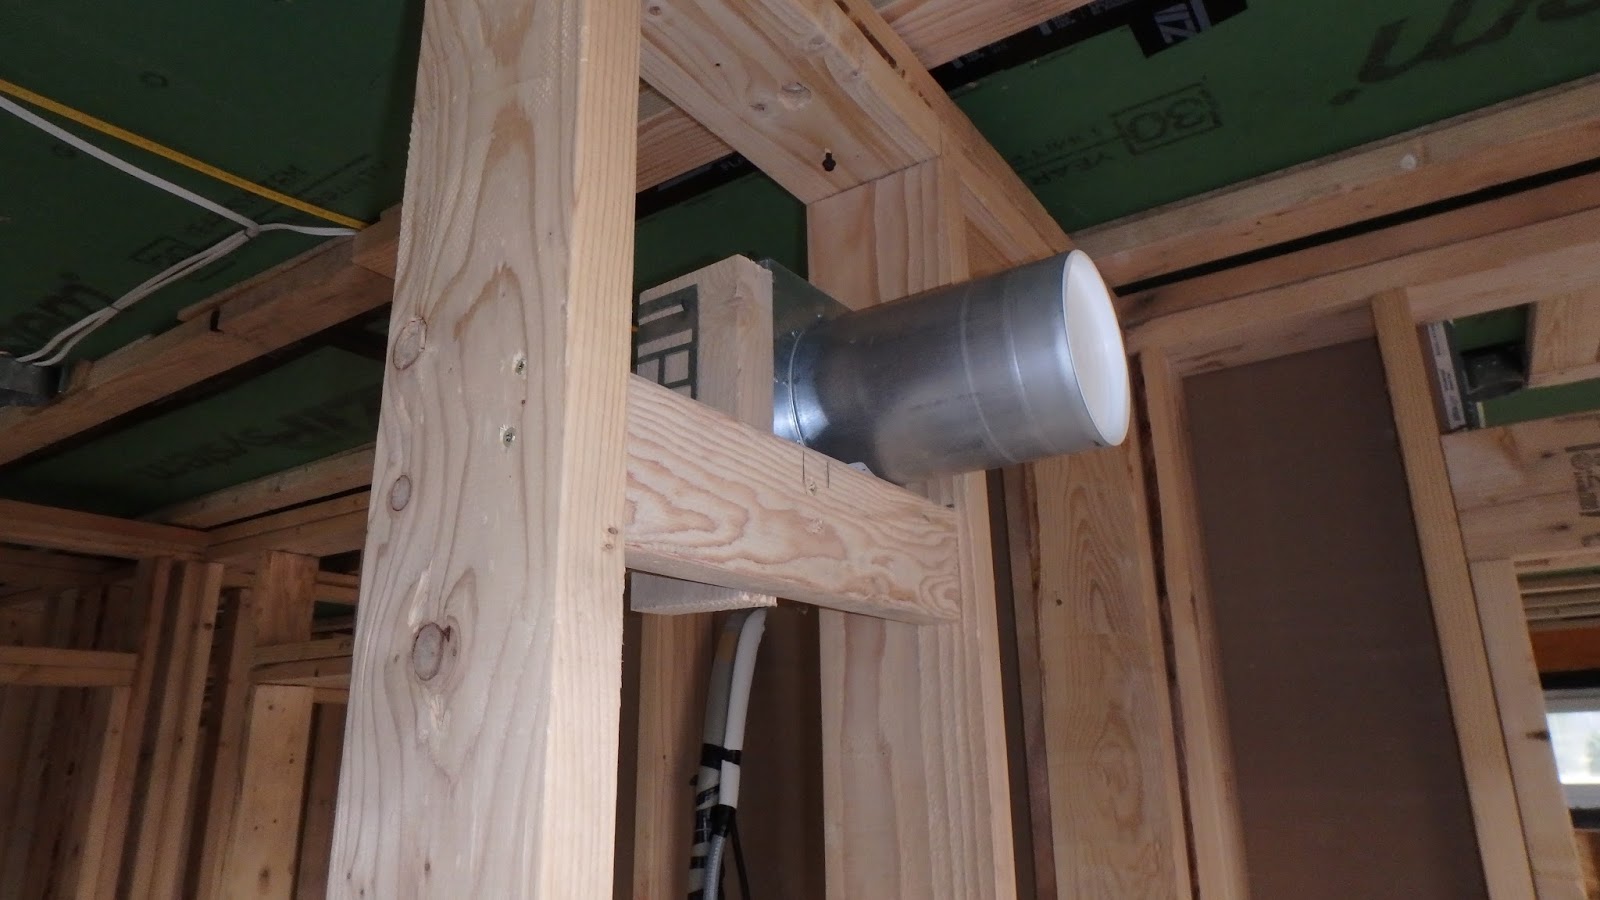
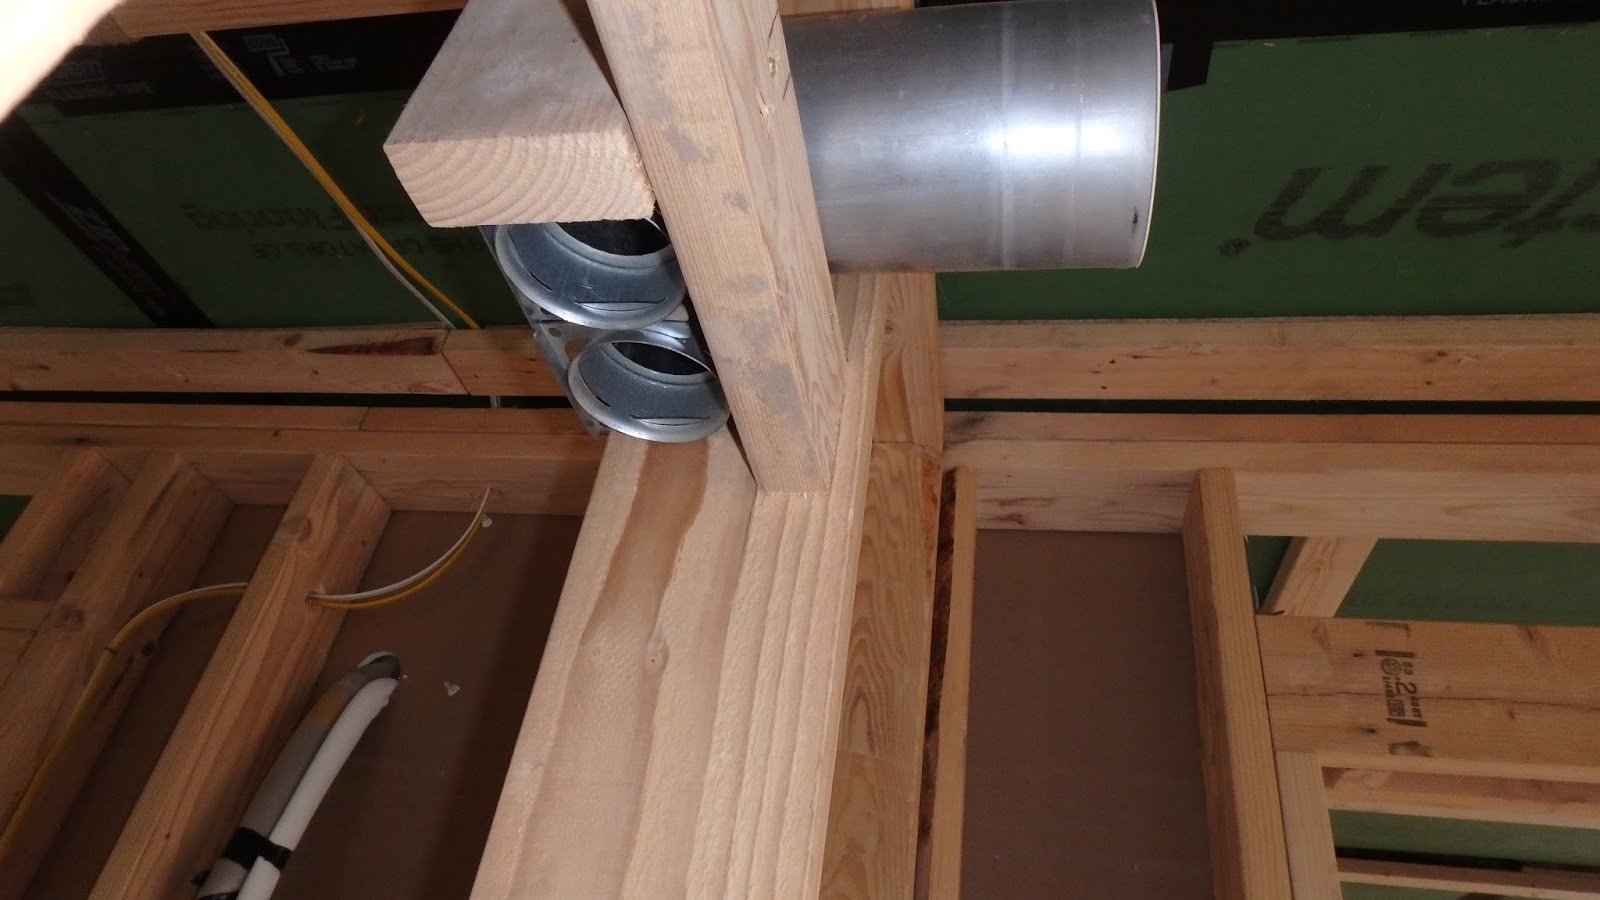
For more information on my ventilation system see my previous blog post HERE
Because the CO2 levels are only elevated for a few weeks out of the year;
AND they are no where near the dangerous levels
AND all of the other indoor air quality metrics are within limits
We are certainly satisfying any concerns of comfort with a spot source cooling unit.
Over this time period:
the Indoor Average TVOC was: 64.5
The 400 ppb limit was exceeded for 2 hours with a max reading of 471.9.
There is no direct correlation between an outdoor measured condition and the indoor condition for TVOC. I have been reading TVOC measurement outdoors as of late and have seen readings as high has 317 ppb, so it is plausible the indoor VOC spike was caused from an outdoor concentration spike.
Lets take a look at CO2 Measurements
CO2 concentrations are generally related to the number of occupants. It is usually highest where people and pets spend most of thier time. Some other sources include, combustion appliances, and from experience - bread baking (and rising). CO2 is generally considered to be 400 ppm in outdoor air. The ideal state is under 1000 ppm in the house. Elevated levels can lead to drowsiness, but no serious health effects until you exceed 5000 ppm. Headaches, increased pulse rate, decrease in cognitive thinking etc. can result.
Our ventilation system is designed to maintain roughly 600-700 ppm CO2 in the house (or 200 ppm above ambient).

The Orange Line is Indoor Measurements from the uHoo Device.
Over this time period:
the Indoor Average CO2 was: 795
The 1000 ppm limit was exceeded on 5 occasions. There are a few reasons for this.
- Outdoor ambient CO2 was likly high. On recent warm muggy nights I have seen the outdoor CO2 creep up to as high 632 ppm.
- Ventilation Rates not high enough with high ambient CO2. While the system is designed to keep the CO2 levels in the 600-700 ppm range, it does consider that our winters are longer and CO2 concentrations are lower in the winter.
- Extremely warm and humid nighttime temperatures are difficult for any cooling / ventilation system.
We have an interesting dilemma here. On the worst night for CO2 concentration, our low temperature was 75.8 F with a 86% RH. If we increase our ventilation rate to lower the CO2 concentration we jeopardize the indoor comfort levels due to excess humidity. We do have an ERV, but when it is used in conjunction with the Comfofond typically it runs in bypass. This is because the Comfofond is lowering the temperature of the incoming air below the temperature of the extract air (ie: "Free" Cooling). When it cools the incoming air with the ground loop, the fresh air is near the saturation temperature (meaning it is very humid, but cooler). Usually in the 65-70 F range.
For more information on my ventilation system see my previous blog post HERE
Because the CO2 levels are only elevated for a few weeks out of the year;
AND they are no where near the dangerous levels
AND all of the other indoor air quality metrics are within limits
We are certainly satisfying any concerns of comfort with a spot source cooling unit.